A vital tool in an IT Professional’s armoury is a test bed or lab. In this series of posts and tech notes I’m going to detail how I built my test lab. I will detail what software I use and why, where to download it from, how to install and configure it. In this first post, I’ll run through the host hardware, the Operating System on the host machine, and then the virtualization software.
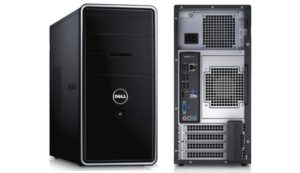
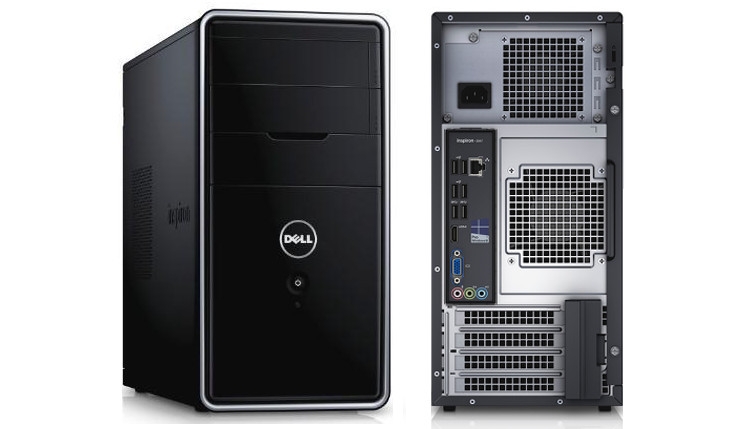
Hardware: Dell Inspiron 3847, purchased off the shelf from Dell, the Inspiron 3847 is a solid general purpose desktop PC. It’s not intended to be a top of the range gaming powerhouse, however it proved to be more than up to the job for my lab, supporting a number of Windows Server 2012 R2 virtual machines. Specs below
- Intel Core i5
- 8 MB Ram
- 1 TB HDD
- 250 GB HDD
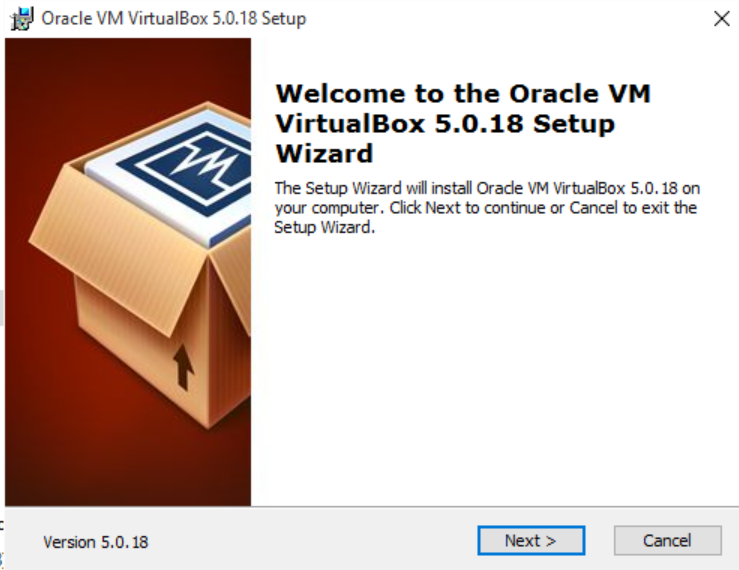
Software: Running Microsoft Windows 10 Home (upgraded from Windows 8.1 Core) Hyper-V is not an option, so really it’s a choice between Virtual Box (www.virtualbox.org) or VMWare Workstation. I have previous experience using Virtual Box so that’s what I’m going to use to support my virtual machines.
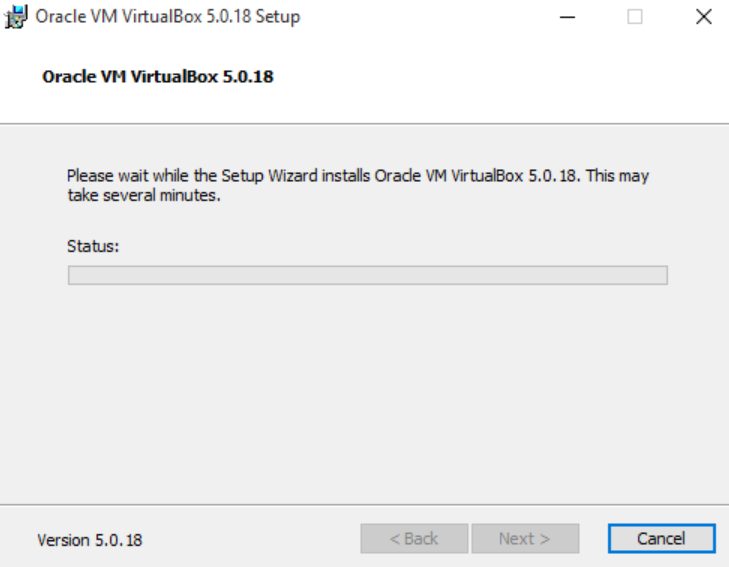
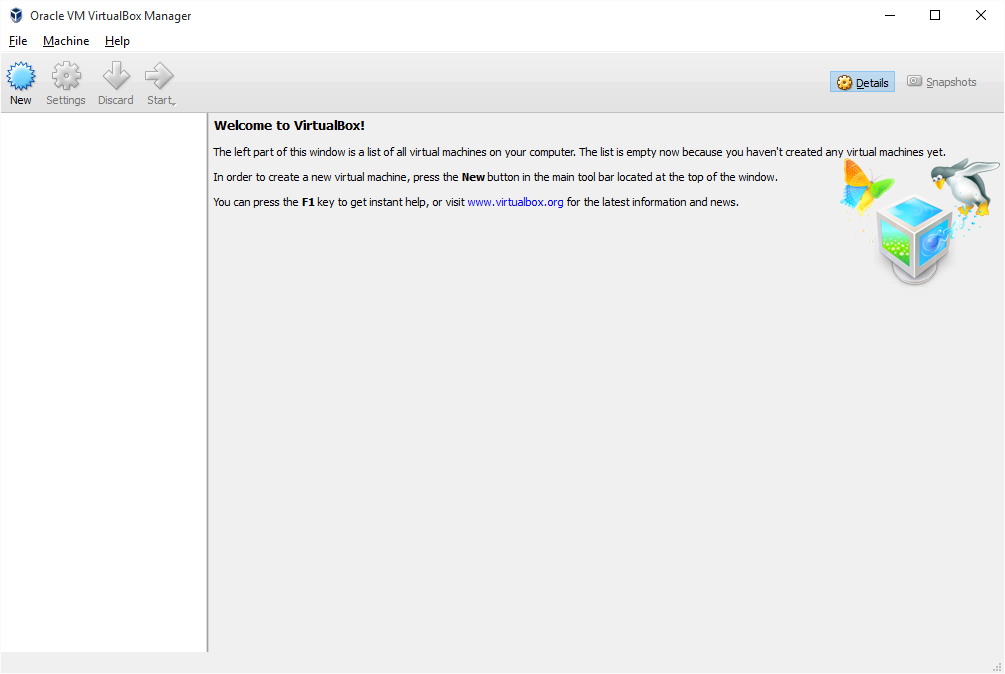
Download the latest version from the link above (at the time of writing this is version 5.0.18), then launch the installer, following the on screen instructions.


With the hypervisor installed its now time to download the guest operating systems. You have a number of choices at this point, but for my test lab I used Windows Server 2012 R2.
Visit Microsoft.com to get evaluation copies of Windows Server 2012 R2. Just Google or Bing Server 2012 ISO and you should be directed to the evaluation centre, if not, the link for 2012 R2 is below.
www.microsoft.com/en-us/evalcenter/evaluate-windows-server-2012-r2

You will need to either sign in or register using your Microsoft Account to download the ISO, and the evaluation copy is valid for 180 days. I’d recommend choosing a different location to the default “downloads” directory and change the file name to something more appropriate, as I’ve done below.

So, you have the hardware, downloaded and installed the hypervisor software, and finally downloaded the operating system for the virtual machines.
In the next post I’ll go through configuring the virtual machine and installing the operating system.
Until next time, thanks for reading and remember to keep your computer patched and up to date
TSP Admin